You're thinking about putting up a vinyl fence yourself, huh? I get it. Saving a buck on labor sounds good, especially with how material costs are these days. Vinyl fences are popular around here, and for good reason—they look great and don't need much fuss once they're up. But don't kid yourself, a DIY vinyl fence install isn't just snapping pieces together like LEGOs. There's a real process, and if you cut corners, you'll be kicking yourself later. Let's talk about what you need to know before, during, and after the project.
Before You Even Buy a Single Panel
This is where most DIYers mess up. Planning is everything with a fence. Seriously, everything.
- Know Your Property Lines: This isn't optional. Get a survey if you don't have one. Don't guess. Fences built on a neighbor's property line are a headache you absolutely don't want.
- Call Digger's Hotline (811): This is non-negotiable in Nebraska. You call, they mark underground utilities. Power lines, gas lines, water pipes—you hit one, you're looking at a huge bill, serious injury, or worse. Do it a few days before you plan to dig.
- Check HOA Rules & City Ordinances: Bellevue has specific rules about fence height, setbacks from property lines, and even materials in some neighborhoods. If you're in a place like Saddlebrook or up near Fontenelle Forest, there might be specific aesthetic guidelines. Don't assume. A quick call to the city planning department or your HOA is worth it.
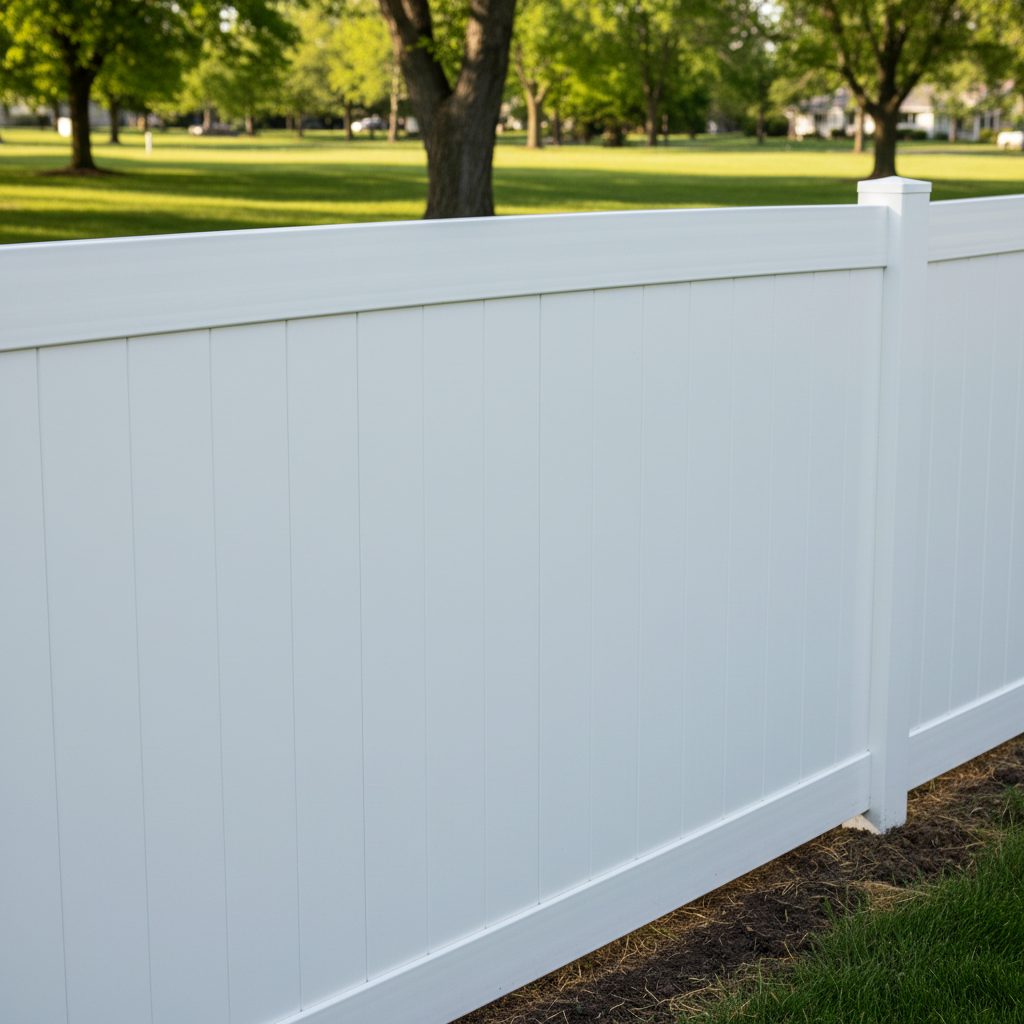
- Pick the Right Style & Material: Vinyl comes in different grades and thicknesses. Cheaper stuff might look fine at first, but it won't hold up to our Nebraska winds or the occasional hail storm like a good quality, thicker gauge vinyl will. Think about what you want your fence to do—privacy, boundary, curb appeal—and choose accordingly.
- Measure Twice, Order Once: Figure out your total linear footage. Account for gates. Don't forget post caps, post skirts, and any special hardware. It's always better to have a little extra material than to be short in the middle of the job.
Getting Down to Business: The Installation
Alright, you've done your homework. Now it's time for the actual work. This is where the physical labor comes in, and frankly, where most people decide to call a pro like Omega Fencing Solutions.
- Digging Post Holes: This is the biggest physical challenge. Vinyl fence posts need to be set deep and plumb. For a 6-foot fence, you're looking at holes 30-36 inches deep, and about 8-10 inches wide. Our clay soil around Bellevue can be a real bear to dig through, especially if it's dry. A post hole digger is a must, but even then, it's hard work. If you're not up for a serious workout, consider renting a power auger.
- Setting Posts Correctly: This is the foundation of your fence. Each post needs to be perfectly plumb (straight up and down) and at the correct height. You'll use concrete for this. Mix it according to the manufacturer's instructions, pour it in, and brace those posts until the concrete sets. Don't skimp on the concrete or the bracing. A leaning post means a leaning fence.
- Assembling Panels: Once your posts are set and the concrete is cured (give it at least 24-48 hours, more in cooler weather), you can start assembling the panels. This usually involves sliding rails into routed holes in the posts and then inserting the pickets. Follow your specific fence kit's instructions. Make sure everything is level as you go.
- Gates: Gates are tricky. They need to be perfectly square and plumb to open and close smoothly. The hardware needs to be robust. If you're not confident in your carpentry skills, this is definitely an area where a pro can save you a lot of frustration.
After the Install: What's Next?
So, you've got your fence up. Congrats! But you're not quite done.
- Cleanup: Get rid of all the extra concrete, dirt, and packaging. Leave your yard and your neighbor's yard cleaner than you found it.
- Inspect Your Work: Walk the entire fence line. Are all the post caps secure? Are there any loose pickets? Do the gates swing freely and latch properly? Fix anything that's not quite right.
- Enjoy It: Vinyl fences are pretty low maintenance. A good spray down with a hose once or twice a year usually keeps them looking sharp. For tougher stains, a mild soap and water solution works wonders. Don't use harsh chemicals or abrasive scrubbers; you could damage the vinyl.
Look, installing a vinyl fence yourself is totally doable for some folks. If you've got the time, the tools, the muscle, and a good head for planning, go for it. But if any of that sounds daunting, or if you just want it done right the first time without the backache, that's what we're here for. We've put up more vinyl fences than I can count all over Bellevue, from the older homes near Offutt to the newer builds out west. We know the ground, we know the codes, and we know how to make a fence last.